
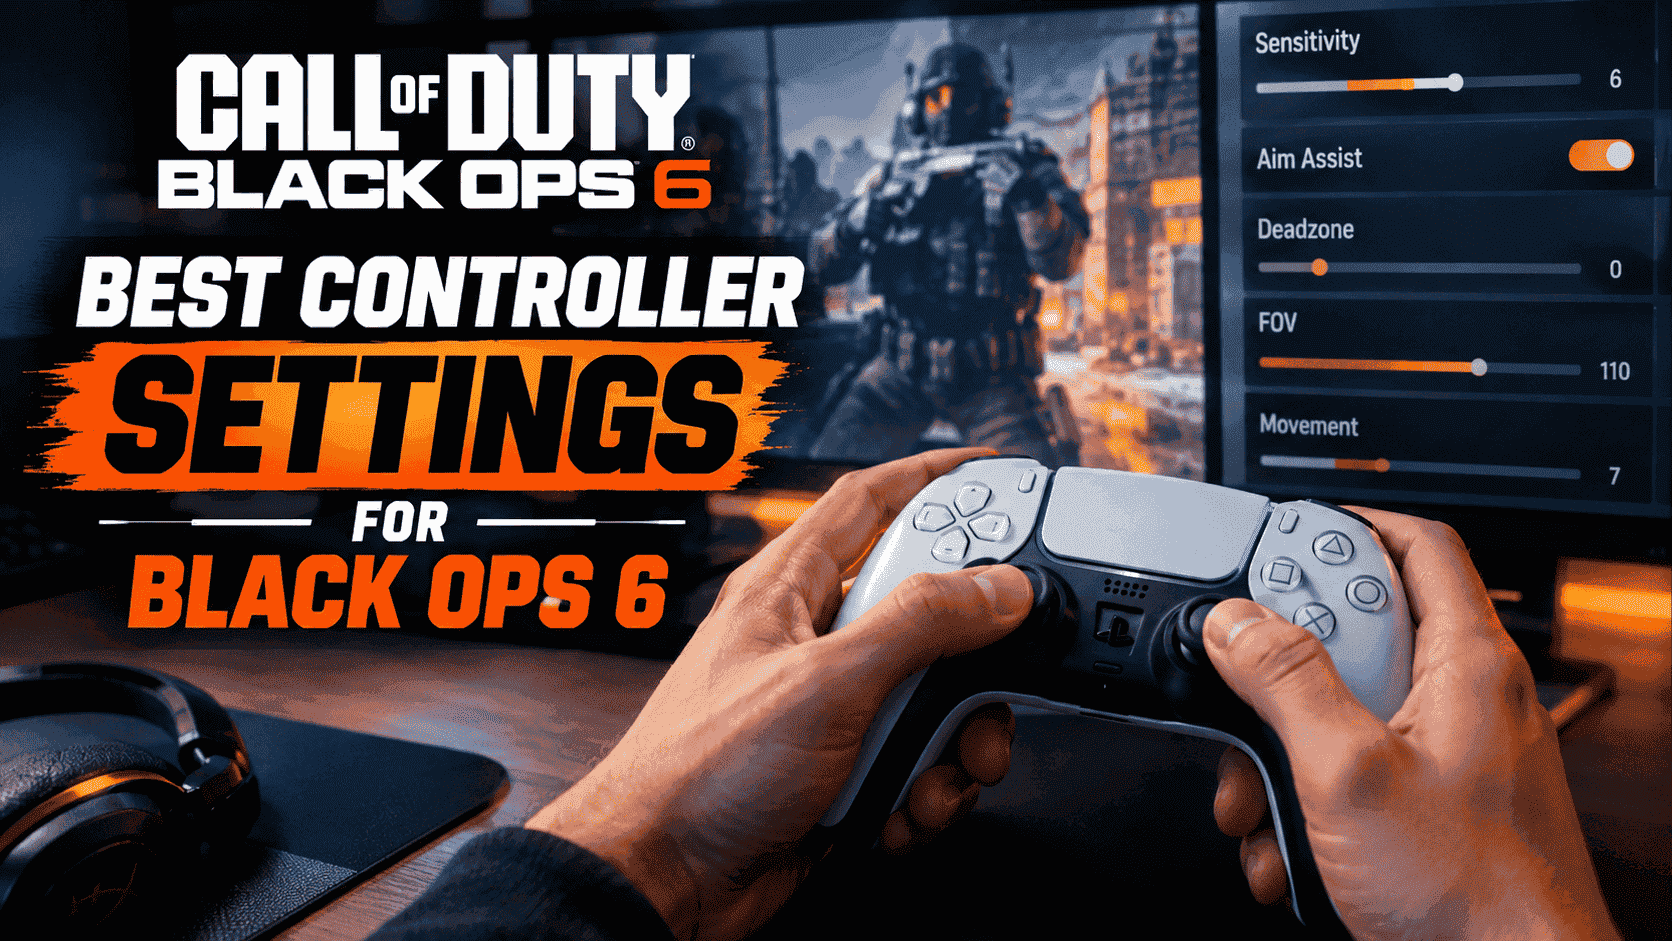
12 Best Controller Settings for Black Ops 6
Introduction
Black Ops 6 is fast. Omnimovement lets you sprint, slide, and dive in any direction, so fights start sooner and from stranger angles than in older Call of Duty games. The default controller settings weren’t built for that pace.
Good settings won’t aim for you. They remove friction, like stick drift, a buzzing vibration motor, or a sprint input that pulls your thumb off the aim stick. They also give your muscle memory something steady to learn from.
This guide pulls together setups from SCUF, Charlie INTEL, GameSpot, and other published sources, then explains why each value makes sense. Treat the numbers as a starting point, not a rulebook. Your controller, your grip, and your playstyle all change what feels right.
Related: Here are 10 Best Zelda Games of All Time (Ranked for 2026)
Quick Answer: What Are the Best Controller Settings for Black Ops 6?
For most players, start with 6/6 stick sensitivity, the Dynamic aim response curve, Instant ADS transition, Target Aim Assist on, and the lowest dead zones that don’t cause stick drift. Use the Tactical button layout and set FOV between 105 and 110.
| Setting | Recommended Starting Value |
|---|---|
| Button layout | Tactical |
| Horizontal sensitivity | 6 (up to 8 for faster turns) |
| Vertical sensitivity | 6 |
| ADS sensitivity multiplier | 1.00 (0.85–1.00 by weapon) |
| ADS transition timing | Instant |
| Aim response curve | Dynamic |
| Target Aim Assist | On |
| Stick dead zone min | 0–2 (raise only if you see drift) |
| Stick dead zone max | 95–99 |
| Trigger dead zones | 0 |
| Controller vibration | Off |
| Trigger effects | Off |
| Motion sensor behavior | Off |
| Field of view | 105–110 |
| Weapon FOV | Wide |
Menus shift a little between game updates. If a patch renames an option, it’s usually the same setting under a new label.
Menus shift a little between game updates. If a patch renames an option, it’s usually the same setting under a new label.
Why Default Settings Hold You Back
Defaults are designed to suit everyone, which means they suit no one in particular. Dead zones start high enough to hide a worn stick. The FOV slider sits near the low end of its range. The assist options lean conservative.
That’s fine for your first match. By your fiftieth, it’s a quiet handicap.
The goal of tuning is simple: remove anything that fights your thumbs, then leave the setup alone long enough to build muscle memory. Change what you need once, then give it a week before you judge it.
1. Use the Tactical Button Layout
Tactical vs. Default
In the default layout, melee sits on the right stick click and crouch/slide sits on a face button. Tactical swaps them. Crouch and slide move to the stick click, and melee goes to the face button.
That swap matters because you can slide, dive, or drop prone without lifting your thumb off the right stick. In a game built around Omnimovement, that’s a real advantage. If you’re new to Call of Duty and don’t want to relearn anything, Default is fine too.
Tactical Flipped for Paddle Players
SCUF’s setup goes a step further with a variant called Tactical Flipped, which paddle and claw-grip players tend to prefer. On a stock controller, plain Tactical is the safer pick. Move to Flipped only if you already know why you want it.
Why Bumper Ping Stays Off
Both SCUF and Charlie INTEL leave Bumper Ping off. Accidental pings in the middle of a fight cause more trouble than they solve.
2. Flip Your Triggers (Optional, But Worth Trying)
Bumpers are digital buttons that click. Triggers are analog and travel through a range. Swapping L1/R1 with L2/R2 puts fire and aim on the faster inputs. Charlie INTEL credits the flip with quicker reactions in multiplayer.
| Pros | Cons |
|---|---|
| Fire and aim sit on the faster inputs | A few clumsy matches while your hands relearn the layout |
| Most players adapt within about a week | Every other game in your library still expects triggers on triggers |
3. Turn Off Vibration and Trigger Effects
Controller Vibration
Vibration is a motor shaking under your thumb during every tracking duel. SCUF and Charlie INTEL both turn it off, and it can extend wireless battery life too. If you rely on vibration for accessibility reasons, keep it on. It’s your setup.
Adaptive Trigger Effects (PS5)
Adaptive trigger resistance on a PlayStation 5 controller is great in a campaign, but it can make firing feel heavier in multiplayer. Switch Trigger Effect off for a more consistent pull.
Motion Sensor Behavior
Leave Motion Sensor Behavior off unless you deliberately practice with gyro aiming.
4. Start With 6/6 Sensitivity
Where to Start
Published setups cluster in a narrow range. Charlie INTEL’s baseline is 6 horizontal and 6 vertical. SCUF’s competitive setup pushes horizontal up to 9 and keeps vertical at 6. The extra horizontal speed helps you catch strafing targets, while the calmer vertical keeps recoil control steady. NME suggests 7 horizontal and 6 vertical.
Start at 6/6 and test it in real matches, not just the firing range. If turning feels slow, go to 7, then 8. If you start overshooting heads, step back down. Change one value at a time.
Call of Duty’s own guidance says controller sensitivity is highly personal. Some players run roughly 8 to 20 for fast turns and corner clears, while others sit around 1 to 3 for fine long-range aim. That second range is very low for modern multiplayer, so most players land somewhere in between.
Sensitivity by Player Type
| Player Type | Horizontal | Vertical | ADS Multiplier |
|---|---|---|---|
| Beginner | 4–5 | 4–5 | 0.90–1.00 |
| Balanced player | 6 | 6 | 0.90–1.00 |
| Experienced / aggressive | 7–8 | 6–7 | 0.85–1.00 |
| Fast-movement player | 8–9 | 7–8 | 0.90–1.00 |
New players should lean toward 5/5. Lower sensitivity makes it easier to control your crosshair while you learn how Omnimovement feels. Raise it gradually.
Higher sensitivity isn’t automatically better. If your crosshair keeps flying past enemies, the number is too high, no matter how good it looked in a clip.
5. Set Your ADS Sensitivity Multiplier
The ADS multiplier scales how fast your sticks move while you aim down sights. At 1.00, your aim speed carries over from hip fire, and that’s the neutral starting point.
ADS Sensitivity Multiplier by Weapon Class
From there, tune by weapon, using ranges from timesaver.gg:
| Weapon Class | ADS Multiplier Range |
|---|---|
| SMG | 0.90–1.00 |
| Assault rifle | 0.85–0.95 |
| LMG | 0.85–0.95 |
| Sniper / DMR (6x–10x optics) | 0.80–0.88 |
| Not sure | 1.00 |
Let your symptoms guide you. Overshooting at range? Lower the multiplier by 0.05. Watching targets slide away before your view catches up? Raise it.
Sources disagree on direction here. Some guides use 0.90 for steadier aim, while NME suggests 1.10 for more control. That split tells you this one is personal preference.
Focus Combat Boost Multiplier
Charlie INTEL drops the Focus combat boost multiplier to 0.90, since the boost already tightens your view.
6. Use Instant ADS Transition Timing
ADS Transition Timing: Instant vs. Gradual
Instant applies your ADS sensitivity the moment you aim. Gradual ramps into it over a short window, and After Zoom waits until the optic settles.
Every guide used here runs Instant for multiplayer, because SMG and AR fights don’t wait for a ramp. Gradual earns its place in long-range play, where Instant can feel jerky through 6x optics and higher.
Custom Sensitivity Per Zoom
This setting lets you assign a different multiplier to each optic tier. There are two schools of thought:
- Keep it simple: Leave it off and use one multiplier. Charlie INTEL pairs Off with the 1.00 baseline.
- Tune it: SCUF uses roughly 0.8 on low-zoom optics, 1.0 at 2x–3x, 1.15 at 4x–5x, and 1.25 at 6x and up, so high-zoom scopes stop feeling sluggish.
Timesaver.gg argues the other way, suggesting 0.80–0.88 at 6x–10x to calm jitter. If high zoom feels heavy, follow SCUF. If it feels twitchy, follow timesaver.gg.
7. Choose the Dynamic Aim Response Curve
Dynamic vs. Standard vs. Linear
The response curve controls how stick travel turns into camera movement.
| Curve | How It Feels | Best For |
|---|---|---|
| Standard | Gentle, mostly linear ramp | Beginners, or players who find Dynamic twitchy |
| Linear | Direct stick-to-camera response | Players who want consistent input |
| Dynamic | Fine control near center, then a quick ramp | Most multiplayer players |
Dynamic keeps small corrections small, but a committed flick reaches full speed fast. That helps with tracking strafing players, and every guide used here runs it. If you’re brand new to controller shooters, Standard is a perfectly good place to begin.
Fixing a Twitchy Curve With Slope Scale
If Dynamic feels twitchy in long gunfights, don’t jump straight back to Standard. Try lowering Aim Response Curve Slope Scale to 0.70–0.80 first. Timesaver.gg recommends that band for this exact complaint, and it smooths the curve while keeping Dynamic’s character. Otherwise, leave it at the 1.00 default.
8. Pick the Right Aim Assist Type
Keep Target Aim Assist On
Aim assist is part of how controller play is balanced, and it helps most when you’re tracking moving enemies. It doesn’t aim for you, and it doesn’t guarantee hits. Positioning, crosshair placement, and reaction time still decide fights.
Target Aim Assist is the master switch. If your aim suddenly feels wrong after tweaking menus, check it first. It’s easy to toggle off by accident.
How Aim Assist Works
According to aimassist.ai, controller aim assist in modern Call of Duty has two layers:
- Slowdown: When your crosshair sits over an enemy, your stick input is scaled down, so the same thumb movement moves the reticle less and it stays put.
- Rotational: As an enemy strafes across your screen, the game gently rotates your view along with them.
Different assist types mix these two layers in different ratios.
The Four Aim Assist Types Compared
| Type | Behavior | Best For |
|---|---|---|
| Default | Slowdown near targets, little rotational pull | Players coming from mouse and keyboard who dislike the pull |
| Precision | Lightest option, reduced assist overall | Players who want their sticks to feel untouched |
| Focusing | Heavier slowdown in a narrow window around the target | Long-range holds and sniping |
| Black Ops | Full slowdown plus the strongest rotational pull | Most players, especially close-quarters SMG play |
Black Ops is the community’s consensus pick for a game built around Omnimovement brawls. The rotational layer keeps your reticle on a target while you slide around them. Assist behavior gets nudged across updates, so check the in-game tooltip for current details.
Don’t turn aim assist off because you saw a pro do it. Most controller players do better with it on.
9. Dial In Your Dead Zones
A dead zone is the range of stick movement the game ignores. The minimum value clears a small circle around center. The maximum value sets how far you need to push before reaching full speed. Factory defaults hide worn hardware, and that costs you floaty aim.
Recommended Starting Values
| Setting | Starting Value |
|---|---|
| Left stick min | 0–2 |
| Right stick min | 0–2 |
| Left/right stick max | 95–99 (shown as 0.99 in menus that use a 0.00–1.00 scale) |
| Left/right trigger min | 0 |
Charlie INTEL recommends 0 for both stick minimums. GameSpot’s profile uses 0.3, a safer choice if your controller drifts. Worn sticks need higher values, and healthy ones can go much lower.
Trimming the maximum to 95–99 means you hit full turn speed a bit before the stick bottoms out, which saves thumb travel on every 180.
The Two-Minute Drift Test
- Load a private match or the firing range.
- Set both stick minimums to 0.
- Put the controller down for a few seconds without touching it.
- If your character walks or your view creeps, raise the matching minimum by 1 or 2.
- Repeat until the drift stops.
Left stick drift moves your character. Right stick drift moves your crosshair. Raise each side separately. Aim for the lowest value that gives clean input, not zero at all costs. Zero can feel great on a new pad and be unusable on a worn one. Re-run the test every month or so, since new drift is often why a once-perfect setup starts to feel loose.
When Stick Drift Is a Hardware Problem
Severe drift can’t be fixed in a menu. If you have to raise the dead zone so high that your aim suffers, the controller likely needs repair or replacement.
10. Tune Sprint, Slide, and Mantle Behavior
Omnimovement rewards a setup that keeps your thumbs free and your sprints deliberate. Charlie INTEL and SCUF agree on most of these toggles.
| Setting | Recommended Value |
|---|---|
| Sprint / tactical sprint behavior | Toggle |
| Tactical Sprint Assist | Optional (see below) |
| Slide / dive behavior | Hybrid |
| Slide Maintains Sprint | On |
| Sprint Restore | On |
| Automatic Airborne Mantle | Off |
| Mantle Assist | Off |
| Auto Move Forward | Off |
| Sprinting Door Bash | On |
Sprint Behavior and Tactical Sprint Assist
Toggle behavior means one tap keeps you sprinting, so you don’t hold the stick click all match. It’s a small change with a big payoff for thumb comfort.
On Tactical Sprint Assist, the sources split:
- Charlie INTEL: Keeps assists off and taps tactical sprint manually.
- SCUF: Turns it on with a short delay of 2, so full sprint starts on its own after a moment of forward movement.
- Another guide: Suggests a delay of 0 for the fastest response.
If you’ve ever hit tactical sprint by accident during a quiet rotation, try the assist. If you want total manual control, leave it off.
Slide, Dive, and Mantle Choices
Hybrid reads how long you press. A quick press slides, and a committed press launches a dive, so both live on one input. Slide Maintains Sprint chains a slide back into a sprint so you don’t lose momentum, and Sprint Restore re-engages sprint after actions that break it. Tap to Slide is another option some players prefer.
Turning Automatic Airborne Mantle off stops the game from vaulting every ledge you brush past mid-fight. Mantle Assist and Auto Move Forward are best off too, since they’re the remaining crutches.
11. Set Your Field of View to 105–110
Field of view sets how wide an angle your camera shows. The slider runs from 80 to 120, and the default sits near the bottom, which feels cramped when enemies dive past your shoulder.
FOV Ranges Compared
| FOV Range | Main Effect |
|---|---|
| 90–100 | Larger-looking targets |
| 105–110 | Balanced visibility (the sweet spot for most players) |
| 115–120 | Wider peripheral view, smaller distant targets |
Charlie INTEL recommends 110, and general guides cluster around 100–110. Ranked players like Shotzzy have been reported around 103. A higher FOV also renders more of the world, so if your frame rate dips at 110, walk the slider down before blaming anything else.
ADS Field of View and Weapon FOV
- ADS Field of View: Affected. Your view stays wide while aiming. Independent keeps full magnification, a long-range luxury most multiplayer players don’t need.
- Weapon Field of View: Wide. The gun model hugs the edge of the screen instead of blocking it. Default is fine if you prefer a bigger gun.
- Vehicle FOV. Pure taste.
12. Add These Handy Combat Toggles
Ping, Tap to Reload, and Depleted Ammo Switch
Three settings from Charlie INTEL’s setup are worth copying:
- D-pad Up set to Ping, so calling out enemies never costs you a thumb.
- Interact/Reload set to Tap to Reload, so mag swaps become instinct.
- Depleted Ammo Weapon Switch On, so an empty magazine hands you your secondary right away.
Armor Plate Behavior (Warzone)
In Warzone-style play, Armor Plate Behavior on Apply All saves you from applying a single plate mid-fight and calling it done.
Example Setups by Playstyle
The SMG Rusher
Close-range play comes down to speed. Use the Tactical layout with triggers flipped, horizontal sensitivity 8 and vertical 7, a Dynamic curve, Black Ops aim assist, Instant timing, and a 1.00 ADS multiplier. Run FOV 110 with ADS FOV on Affected, and consider turning Tactical Sprint Assist on. Your reticle may outrun your reactions for the first few matches, so give your hands time to catch up.
The AR Mid-Range Player
Mid-range is a tracking game. Use 6/6 sensitivity, a Dynamic curve, Black Ops assist, and an ADS multiplier between 0.85 and 0.95 depending on how much your muzzle wanders. Focusing aim assist is worth one full session of experimenting. Keep Instant timing unless 6x play feels jerky. FOV 105 keeps distant targets readable while still showing enough periphery to rotate out of a lost fight.
The Sniper
Snipers want steadiness first and speed second. Use sensitivity 5–6, Focusing or Precision assist, and Gradual or After Zoom timing so the optic settles before sensitivity kicks in. Per-zoom multipliers around 0.80–0.88 at 6x–10x calm shake, though SCUF’s higher values suit players who find scoped aim sluggish. Run FOV 100–105, since bigger targets matter more than periphery at range.
Do These Settings Work for Warzone?
Mostly, yes. Warzone shares the same settings structure, so sensitivity, dead zones, response curve, and aim assist type carry over directly. The fights are different. Longer sightlines push many players to lower their ADS multiplier a little (around 0.85–0.90) and accept a slightly lower FOV for bigger targets at range. Menus may differ by update, so check the in-game options.
Quick Wins in Audio and Visual Settings
- Lower the music volume. Footsteps and reload clicks are information, and the soundtrack buries them.
- Use headphones when you can. Directional audio does a lot of work.
- Turn off world and weapon motion blur, depth of field, and film grain. They soften player models at range.
- On PC, check your frame rate at your chosen FOV before committing.
Common Mistakes to Avoid

- Copying a pro’s exact numbers. Pros use different controllers, monitors, and grips.
- Setting dead zones to 0 on a drifting controller. Use the lowest stable value.
- Running extreme sensitivity because it looks good in clips.
- Turning aim assist off to “get better.”
- Changing settings after every match. Play at least 5 to 10 matches before judging a change.
- Changing ADS settings before hip-fire feels right.
- Ignoring hardware. Dirty thumbsticks and worn grips can feel like a settings problem.
- Ignoring movement practice. Sliding, diving, and changing direction while keeping your crosshair on target matters as much as any menu value.
How to Get More Out of Your Settings
Settings only remove obstacles. A few habits do the rest:
- Crosshair placement. Keep it where an enemy is likely to appear, not pointed at the floor.
- Small adjustments. Avoid big stick movements when a tiny correction will do.
- Smooth tracking. Follow moving targets instead of constantly correcting.
- Recoil patterns. Learn how your main weapon behaves when it fires.
- Consistency. Resist changing sensitivity every day.
- Review your gameplay. Watch a few matches and look for missed shots or overcorrections.
Key Takeaways
- The best BO6 controller sensitivity for most players is 6 horizontal and 6 vertical.
- Dynamic Aim Response Curve is a good starting point for smoother and more responsive aiming.
- Keep Aim Assist enabled for controller gameplay.
- Set your deadzones to the lowest stable values that prevent stick drift.
- Turning controller vibration and adaptive trigger effects off may provide a more consistent aiming experience.
- A 105–110 FOV is a balanced starting range for visibility and target tracking.
- Test your settings in matches and make small adjustments to find what feels comfortable.
Frequently Asked Questions
What are the best controller settings for Black Ops 6?
A balanced start is 6/6 sensitivity, Dynamic response curve, Instant ADS transition, an ADS multiplier of 1.00 (or 0.90 if aim feels shaky), Target Aim Assist on, the Tactical layout, FOV 105–110, and the lowest dead zones that avoid drift.
What sensitivity do pro players use in BO6?
Published competitive setups mostly fall between 6 and 9. Charlie INTEL’s reference setup uses 6 horizontal and 6 vertical, while SCUF’s uses 9 horizontal and 6 vertical. Pick the highest value that lets you track a strafe without overshooting, then stop changing it.
Which aim assist type should I use?
Black Ops works best for most players because it pairs full slowdown with the strongest rotational pull. Try Focusing or Precision if you play long holds or snipe and don’t like the feel of the pull.
Is Dynamic or Standard better?
Dynamic is the community baseline for its snappy flicks and fine control near center. Standard may feel better if you’re new to controller shooters or find Dynamic twitchy. Try a slope scale of 0.70–0.80 before switching.
What dead zone should I use in Black Ops 6?
Use the lowest value that doesn’t cause drift. Healthy sticks often work at 0–2, and worn ones may need more. Keep maximums around 95–99 and triggers at 0.
Does FOV change my sensitivity?
No. FOV changes what you see, not how fast your sticks turn. A high FOV can make distant targets look smaller, which makes precise aim feel harder even though your sensitivity hasn’t changed.
Do I need to flip my triggers?
No, it’s optional. It puts fire and aim on the faster analog inputs, but it takes about a week to get used to and doesn’t match other games. If you’re comfortable with the default, nothing forces the change.
Conclusion
There’s no secret settings file that ranks you up. There’s only a baseline that stops your hardware from fighting you. Start with sensitivity 6–8, a Dynamic curve, Black Ops aim assist, low dead zones, FOV 105–110, and movement toggles that keep your thumbs on the sticks. Then play for a week without touching anything. If something feels off, change one value and give it time before you decide. Consistency builds muscle memory, and constant fiddling erases it.
Related: Here are Top 10 Popular Video Games: Best-Selling & Most Played Games